
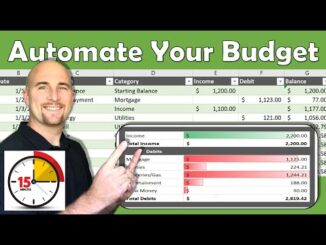
In today’s video, I want to show you guys on how you can make a really easy and simple budget and expense tracker with Google Sheets! This budget and expense tracker allows you to manage your finances more efficiently and in a smart and easy way. The Google Sheets tracker itself takes around 5 minutes to create and is very intuitive and easy to use for all your needs. You can also categorize on what your spendings are to narrow it down even more.
Timestamps:
00:00 Intro
00:17 Tutorial
06:51 Demo
==
Thank you for watching my video! Hope you enjoyed it and don’t forget to subscribe for more content like these~
Some Assets that may be used in this video:
Flaticon Icons & Logos:
‼‼IMPORTANT‼‼
Hey guys! Heads up, I’m aware some of the SUMIFs aren’t working.
If some formulas don’t work, try interchanging some , with ; and vice versa!
You can also try retyping the “Needs” and different categories (both on the dropdown AND formula) to ensure there are no odd characters or spaces that may affect it (it’s case sensitive!) Remember that “Needs”, ” Needs “, and “needs” are NOT the same thing; Sheets will read these differently.
Thank you for sharing this!
Simple explanations like this are really helpful. Thanks for sharing.
I just want to say a HUGE thank you for the way you teach us step by step but also with examples. Sadly some of us weren’t privileged enough to learn these things at an early age and it can be a bit difficult to follow what to do without feeling defeated! I appreciate this very much.
I liked this tutorial as a casual person watching caleb hammer financial clips of him grilling people for not knowing what they spend. I think a cool thing you can expand with this tutorial is to add a second column of a more detailed categorization so like a car/school loan is a need but then you can go and add that as a school cost or transportation cost so you can get a stronger representation of your spending within the subcategories.
A helpful tip for people that want to reference the same cell in a spreadsheet is to use “$” also known as the money symbol. If you place this in infront of the cell ids for column/row it will always remain the same when dragging a function down or across when duplicating a function. So if you had your “Actual Needs” % in column K15, then the money amount in L15, and your Total income in J5,; you would write “=L15/$J$5”
This way you can drop down the function so it works for wants and savings as it will always reference the total income cell. $ locks the specific row and column in place so you can play around with it if you want to lock the column but not the row or the other way around.